


Drawing Easter bunnies made easy: Your guide to the cutest DIY bunny

Updated: Apr 3
Easter is just around the corner, and what could be better than decorating your home yourself?
Want to embellish your homemade decorations or craft personalized Easter cards? To make sure everyone can succeed, I have a little tutorial for you today. In just six easy steps, you can conjure up this cute bunny on paper – complete with an Easter egg!
Grab a pen, and let's get started!
Step-by-step instructions

Step 1: Basic Head Shape Draw two slightly curved lines that look like an open, round shape (similar to a 'U' without a bottom edge).

Step 2: Add ears. Draw two long, narrow ears at the top. → They stick out slightly and are rounded at the top. Add two closed eyes (small curved lines) and a small nose in the middle.
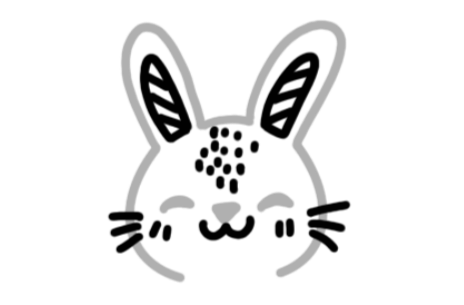
Step 3: Draw a face
Now add the details to the face:
A simple, smiling mouth & a few dots
Small strokes for the whiskers & the inside of the ear

Step 4: Body
Draw two lines downwards from the head to create a round, elongated body .
→ The body is soft and slightly oval.

Step 5: Arms & Feet
Draw small, simple arm shapes on both sides.
→ They consist only of curved lines and lie close to the body. At the bottom of the body, draw two large, round feet. → They are slightly angled forward and look soft and cute.
Draw a small, round, fluffy tail on the side at the back.

Step 6: Add egg
Draw a large Easter egg between the rabbit's arms.
→ Decorate it with simple stripes or wavy lines. Add small details: small dots or lines for texture.

And the drawing is finished!

Coloring (optional)
Now you can color the rabbit:
Body: light (e.g., grey or beige)
Cheeks: light pink
Egg: colorful and playful
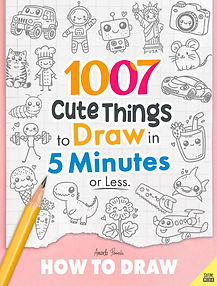
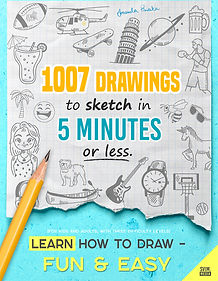
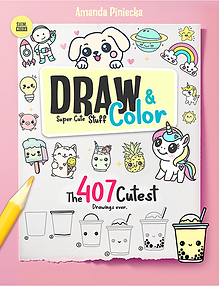
If you would like to draw more cute designs, I recommend my book, “1007 Cute Things to Draw in 5 Minutes or Less.”




Comments